DIY Time to Read Clock…Because It’s Always the Right Time to Read
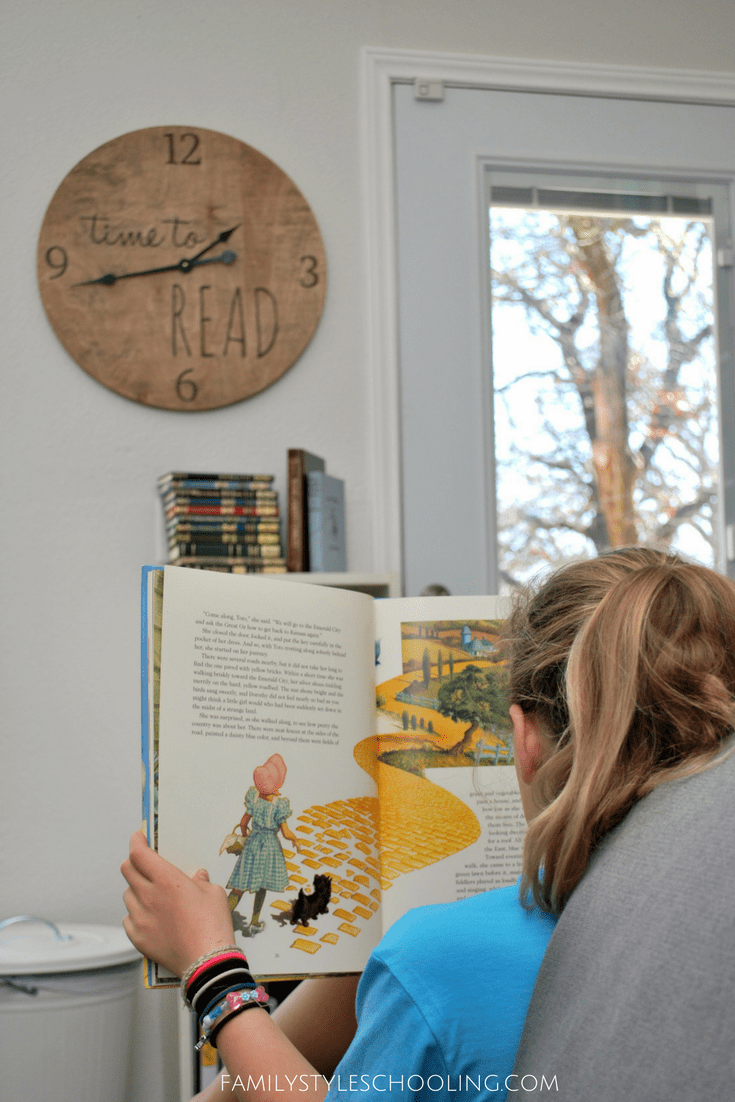
We've been enjoying hanging out in our new home library, but one problem we've had was losing track of time. While it was wonderful to get lost in a good book, we needed a clock to help us stay connected to the world.
I designed this cute clock, and my husband put it together for me! I love how cute it turned out.

Materials Needed:
- Lauan plywood (birch), 1/4" thick
- Industrial particle board, 1/2" thick
- Wood glue
- Edge banding veneer (3/4" - either Red Oak or White Birch)
- Clock kit (8.75" minute hand)
- Charcoal (for transferring letters)
- Sawtooth picture hangar
- Minwax Stain (Weathered Oak and Jacobean)
Tools Used:
- Wood burning - Razertip single pen burner with spoon tip and ballpoint tip
- Band Saw
- Sand Paper
- Hammer
- Drill and drill bit (for the clock motor screw)
When shopping for materials, consider the size of your clock. Since our clock was a little less than 24" diameter, a 2'x2' Lauan sheet was chosen for the face. Unless you have another project, it's best to buy only what you need.
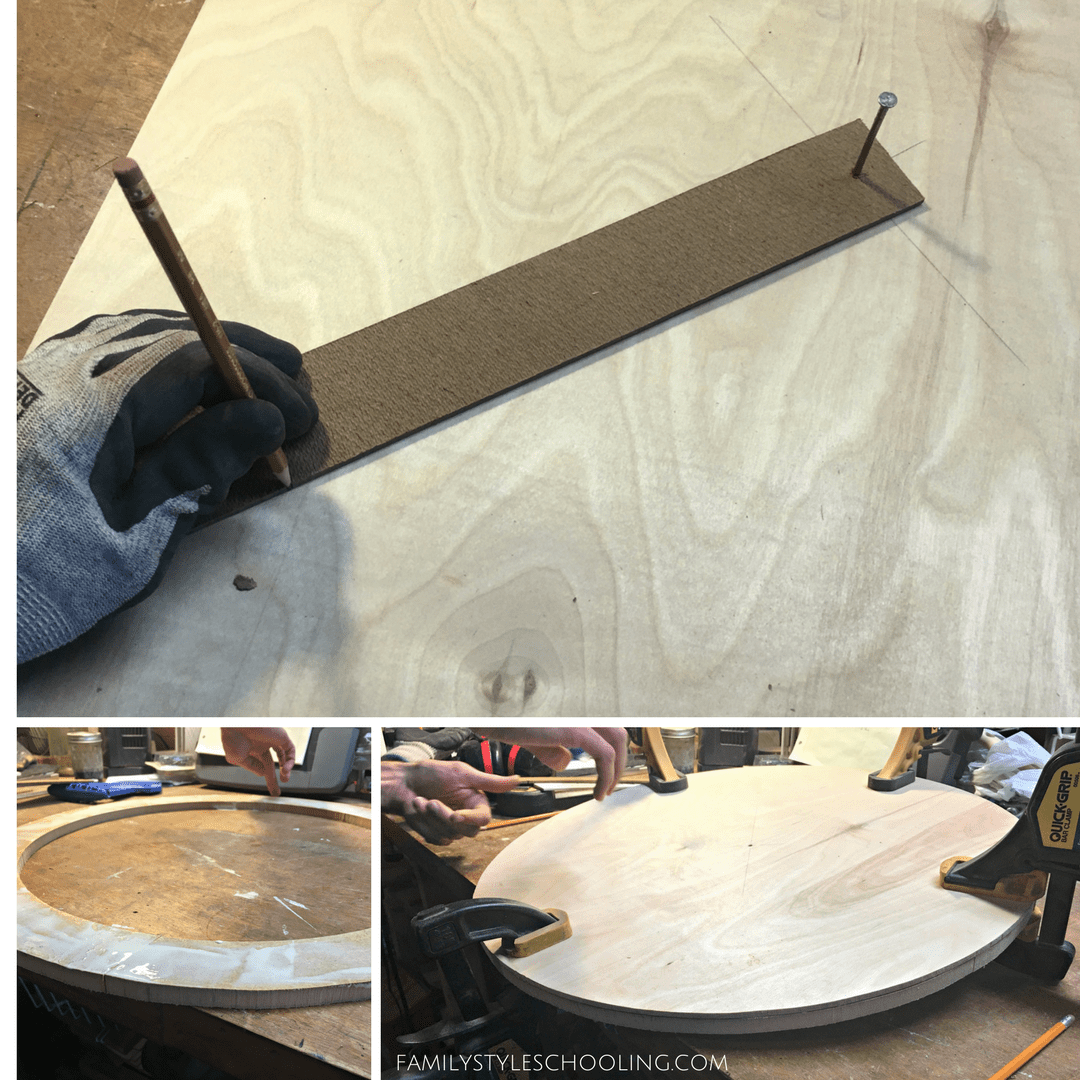
Building the Base
- Find the center of your clock face. Simply place a ruler from corner to corner and make an 'X' to find the middle.
- Make the circle. If you have a thin piece of scrap wood, drive a nail through the center 'X' that you made and using the band saw or even a hand saw, make a notch for your pencil. Be sure to measure out from the center of the nail to the length of the radius of your circle (see picture above). You will use this notch again for your 1/2" particle board.Make sure the nail is in tight enough and simply hold your pencil right in the notch, dragging it around to make a perfect circle.
- Cut out the circle on the band saw (a jigsaw may also be used). Use it to draw the same circle on your 1/2" particle board. Since the center is for the clock motor, go ahead and drive the nail straight through into the particle board underneath. This will give you the exact center to use for your make-shift protractor.
- Cut out the circle backing. Create another notch in your homemade protractor about 2" in from the first. Take the 1/4" Lauan board off and create your second inner circle on the particle board. Cut at both lines and you get a frame to glue behind your clock face. Clamp, and wait until the glue has dried.
- Finish with edge banding. When the glue is finished drying, get your edge banding and iron it on per instructions, trimming the edges as needed. Then sand it all to a fine grit. Go ahead and drill the hole for the motor screw now as well.
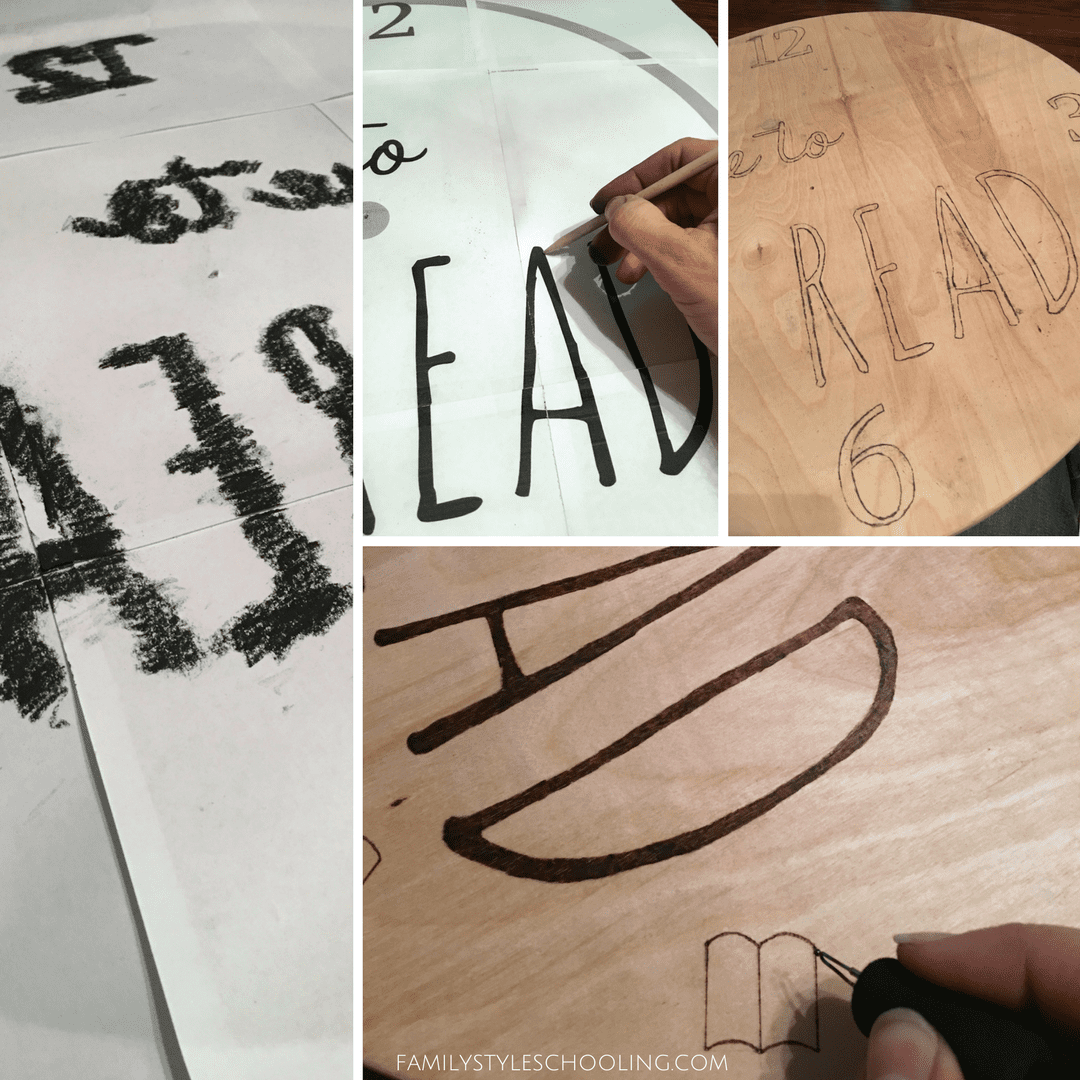
Transferring Your "Time to Read" Design Onto the Clock Face
In the meantime, you can get your letters ready. We actually used an app called WordSwag for the words and then uploaded the image to Canva. Here, the graphics were finalized to size and printed on several sheets of paper, which were taped together for the transfer.
After all are taped to your liking, turn the now large sheet over and color charcoal over and just beyond the boundaries of each letter and number.
Place the paper carefully over your clock face so that it's centered (I went ahead and poked a hole in the center to help me) and use a pencil or tracing stick to outline everything.
Then burn inside the lines! Don't press too hard unless you want a lot of texture and uneven burns inside your letters. (Note: You could also simply use a black sharpie here if burning is not an option.) After filling in each of your letters and numbers, erase the extra charcoal and get ready to stain!

Make a small sample to see about what color you should expect on the wood.
Our favorite blend consists of Weathered Oak and Jacobean colors in an 8:1 mixture. We were very scientific with our spoon and bowl. We just spooned out 8 spoonfuls of Weathered Oak and then 1 spoonful of Jacobean and stirred in the bowl.

This time we used a paper towel to apply the stain since it was such a small surface, but normally a terry cloth rag, sponge brush or fine bristle brush are good for staining. Apply the stain!
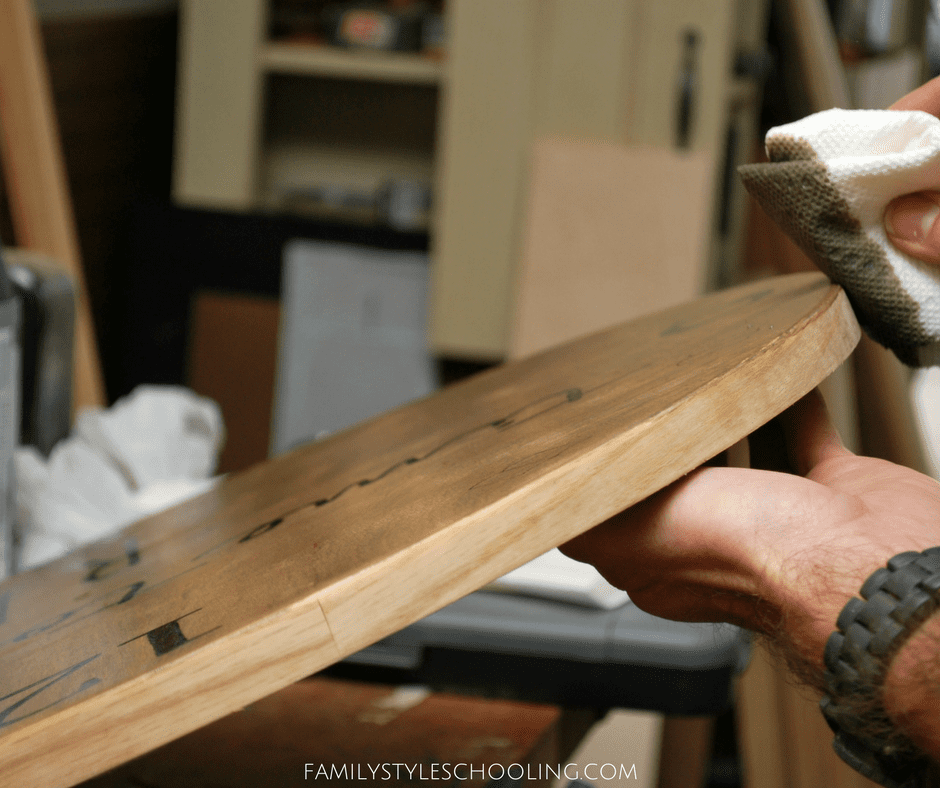 Be sure to get around the edge! You don't need to wait very long (less than 1 minute) before wiping off the excess stain.
Let it dry, then install the picture hangar on the back. Finally, install the clock motor and hands. Push the motor screw through the hole you drilled in the center, putting the hands on per instructions.
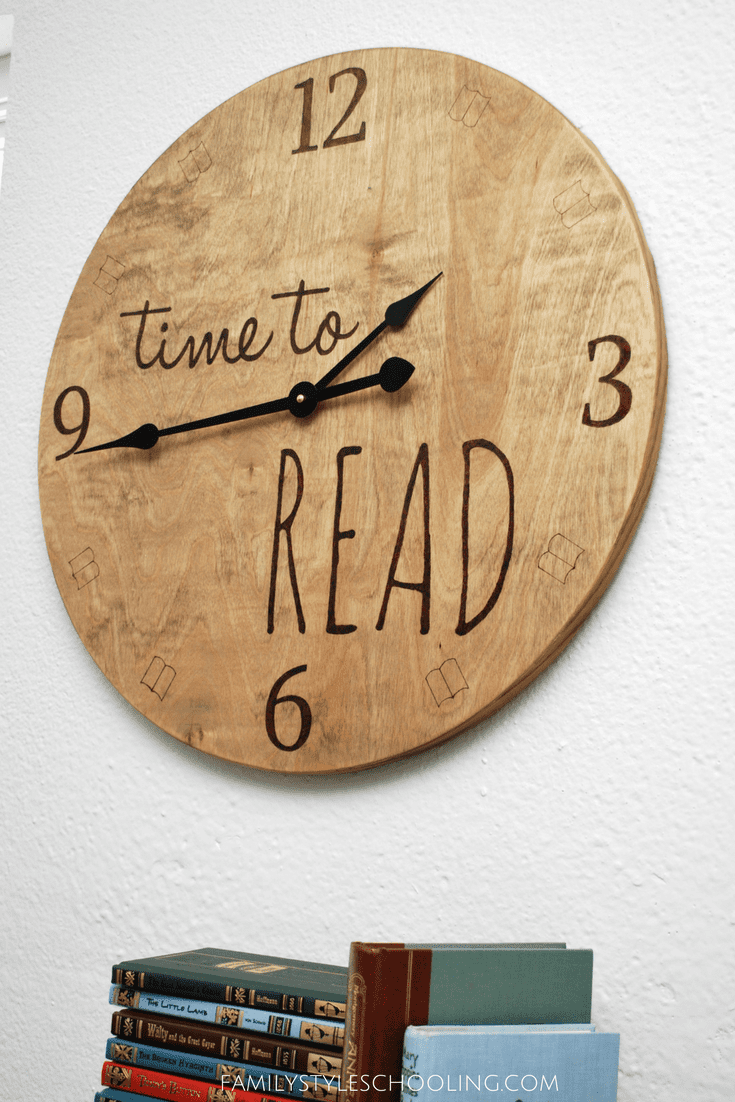
I love the sweet reminder to myself and my kids to continue to think that all times are good times to get reading!