
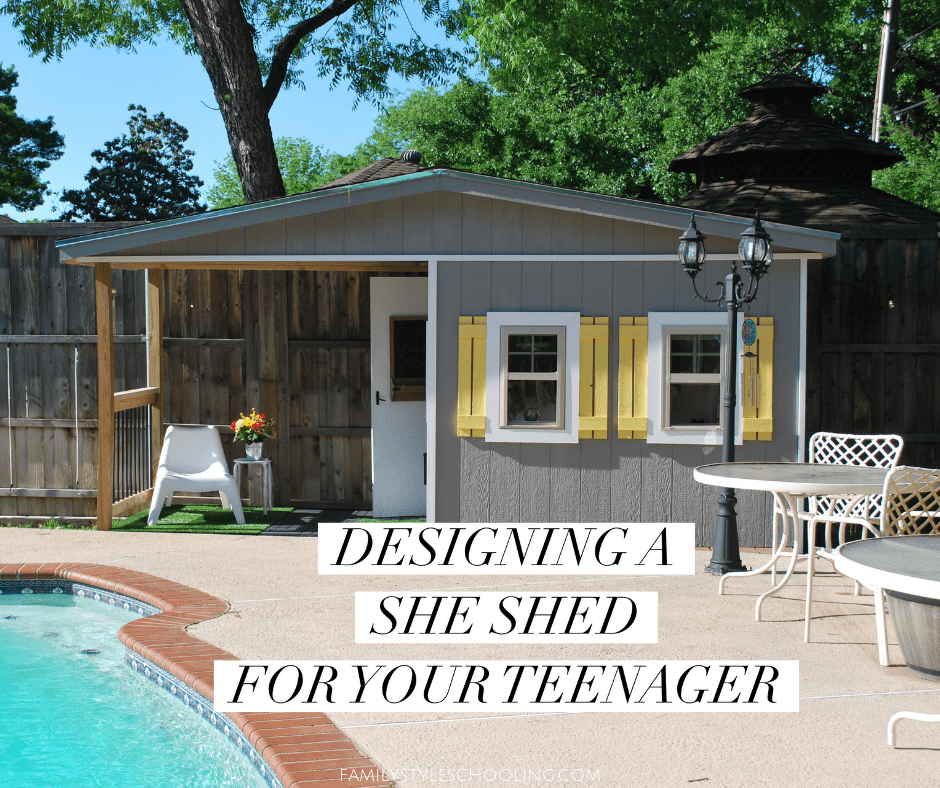
Designing a She Shed for Your Teenager
It all started with a cardboard box and a creative teenager. Last Christmas I ordered a new chair for the living room and my daughter confiscated the box. She said she'd only keep it for a week, but then I saw what she made out of it. It was the most creative box clubhouse I'd ever seen. I talked her dad into letting her keep invading his workshop for a little longer, and then she started making bump outs. This kid needed a real project, so for her 13th birthday she built a she-shed with her dad in the back yard!
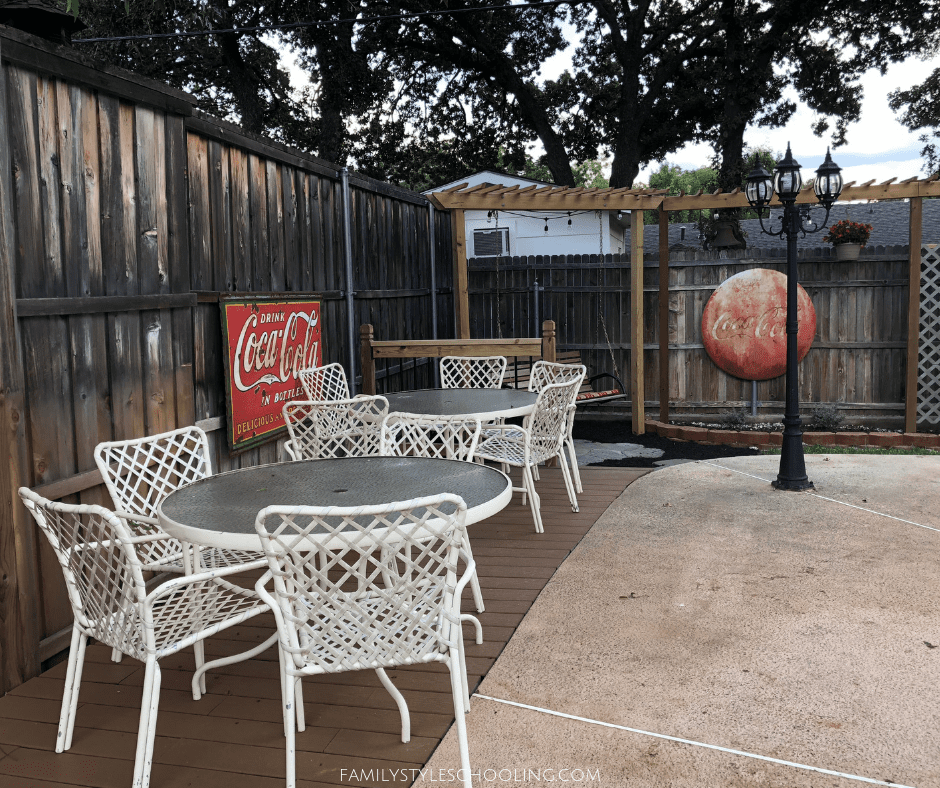
Last summer my son wanted to fix up our back yard a bit, so he came up with a deck project for him and his dad to complete. They had some left over decking materials, so they added a little deck space on the other side of the yard.
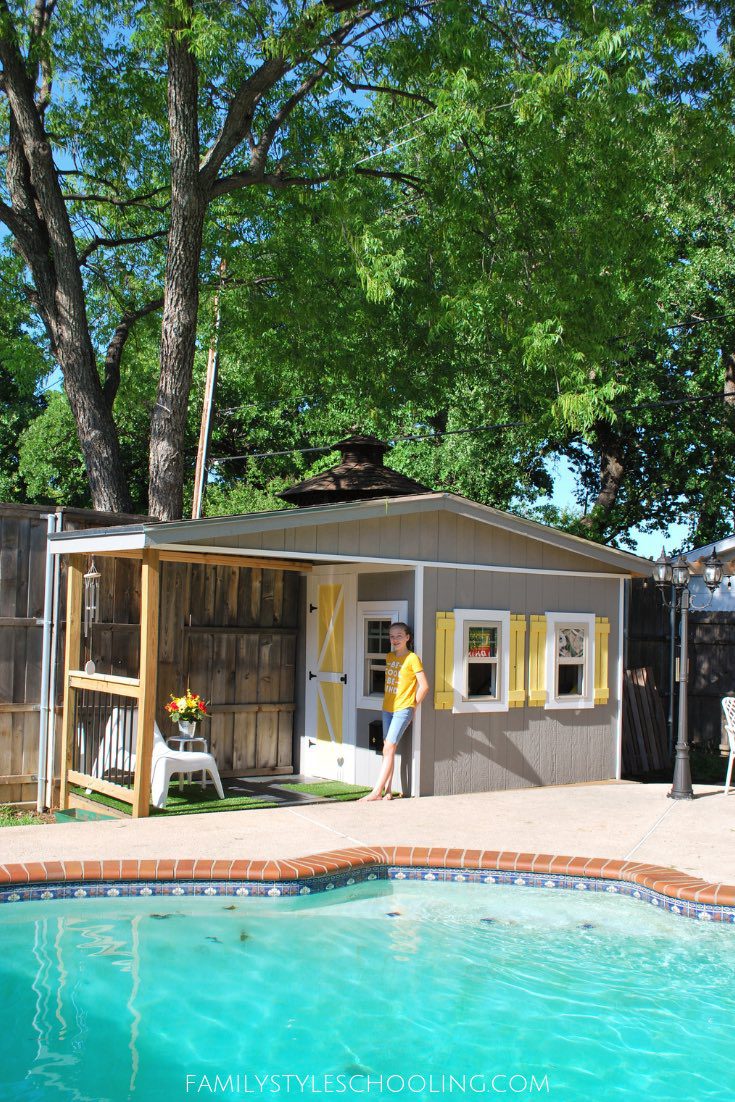
The problem with this side of the yard is that it is either in full sun, or getting Pecan tree sap dropped all over it. No one wanted to sit over there, so it gave us the perfect base for our she-shed.
So we mapped out the space and dreamed up a design and my two little worker bees got to work! I scoured Pinterest for inspiration and we found these two projects extremely helpful:
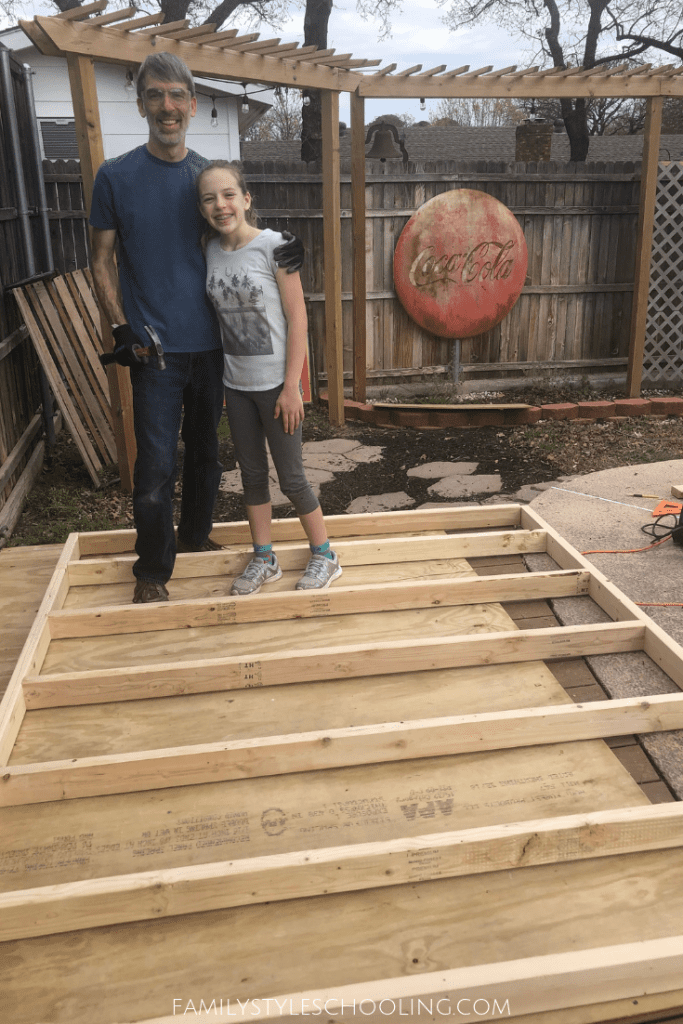
This project offered great opportunities to learn the basics of building from how to drive a nail, to framing walls and a roof. Our baby girl worked hard at every stage of the project. It's easy to overlook my baby because she's my youngest, but I'm learning to let her grow up and do amazing things like this!
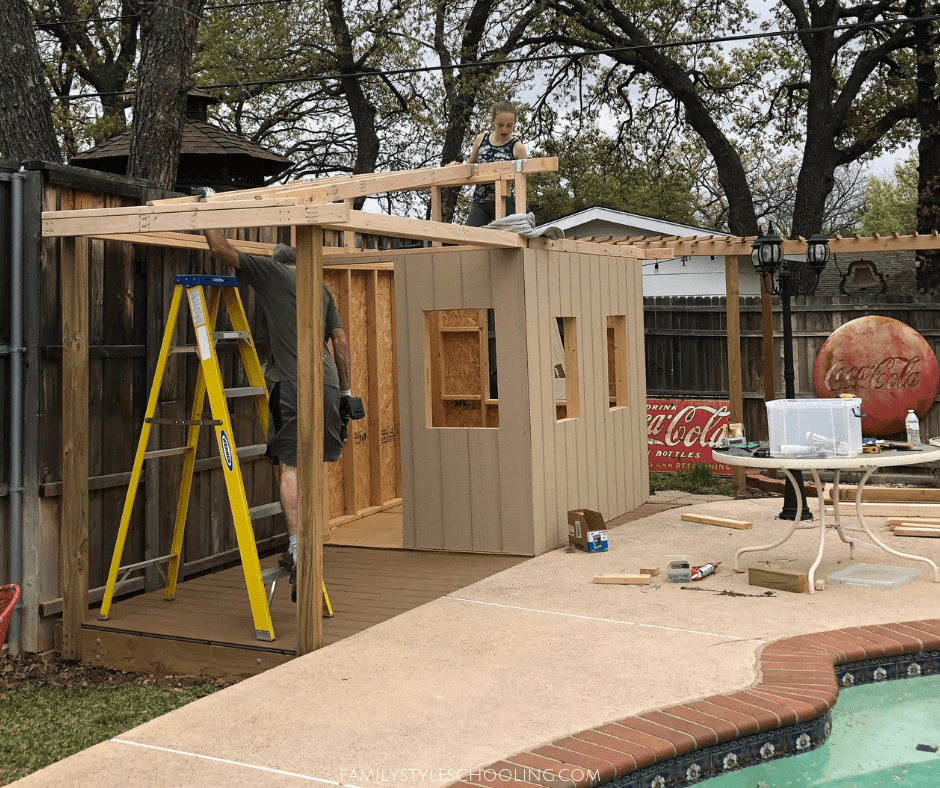

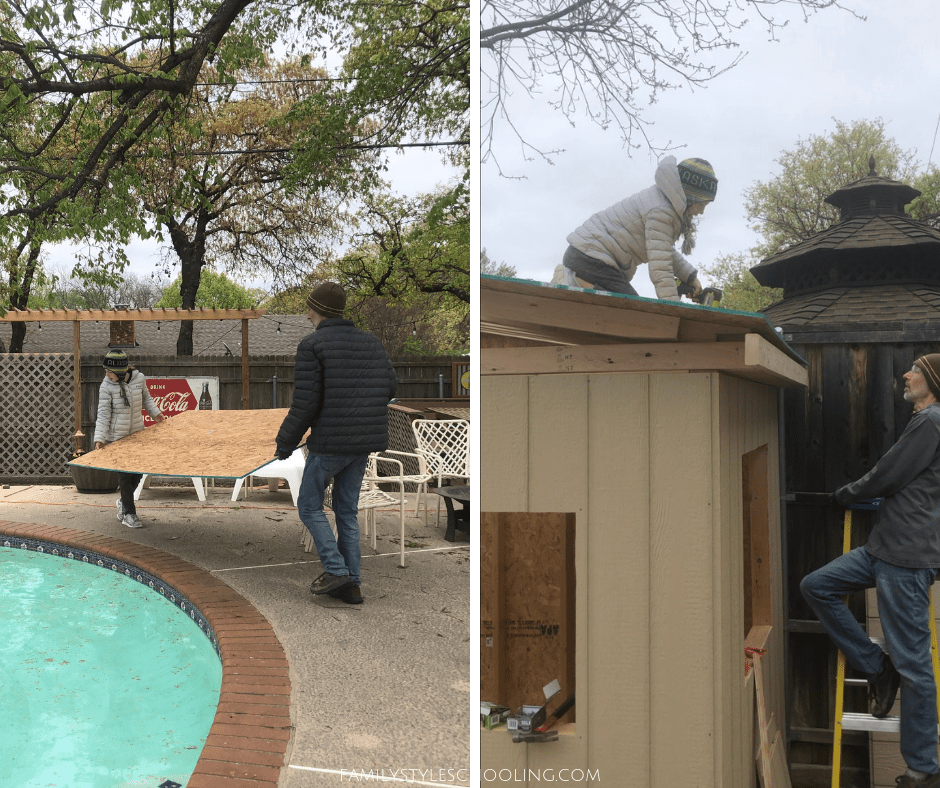
March surprised them with chilly temps for Texas, but that didn't slow down these two workers. They finished the whole roof in a day!
I was more interested in the design of the space. We found some used windows at a Habitat for Humanity ReStore. My husband made sure to frame out the windows to fit our unique window sizes.
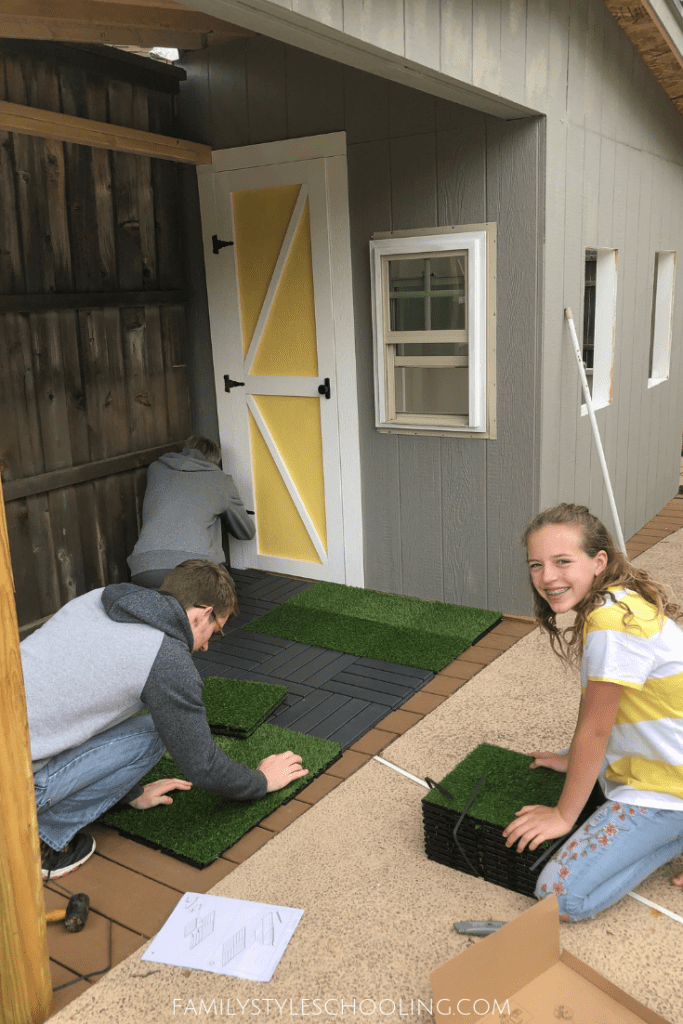
Since the decking was pieced together, it was a little uneven in some places. That was just fine under the table, but once it was the front entry of the clubhouse, we needed to reinforce it a bit. We found this fun flooring at IKEA, and it worked beautifully as a sidewalk with grass to the front door.
They painted all of the inside white and laid some easy peel and stick vinyl tile on the small 8'x6' floor. This will help keep the place clean while offering a little bit of style!
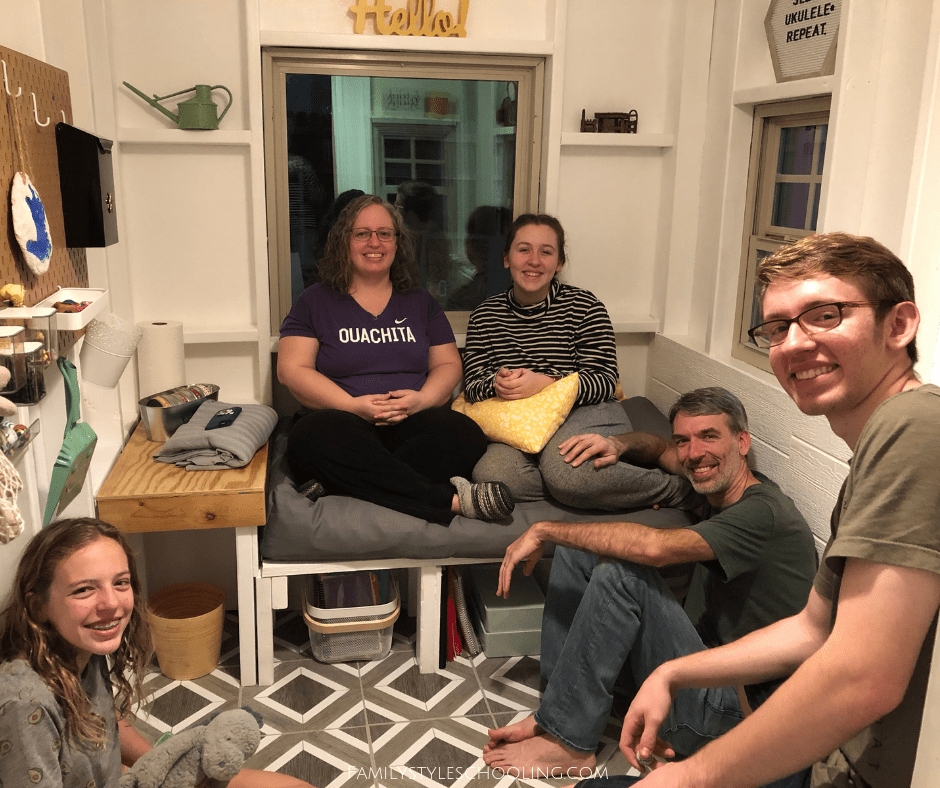
My girlie couldn't have been more proud of her outdoor retreat:
I found this sensory-friendly water-resistant crash pad at Target that made a perfect window bench cushion. My husband built the little bench system with scraps from the build. It was a great use of the materials!
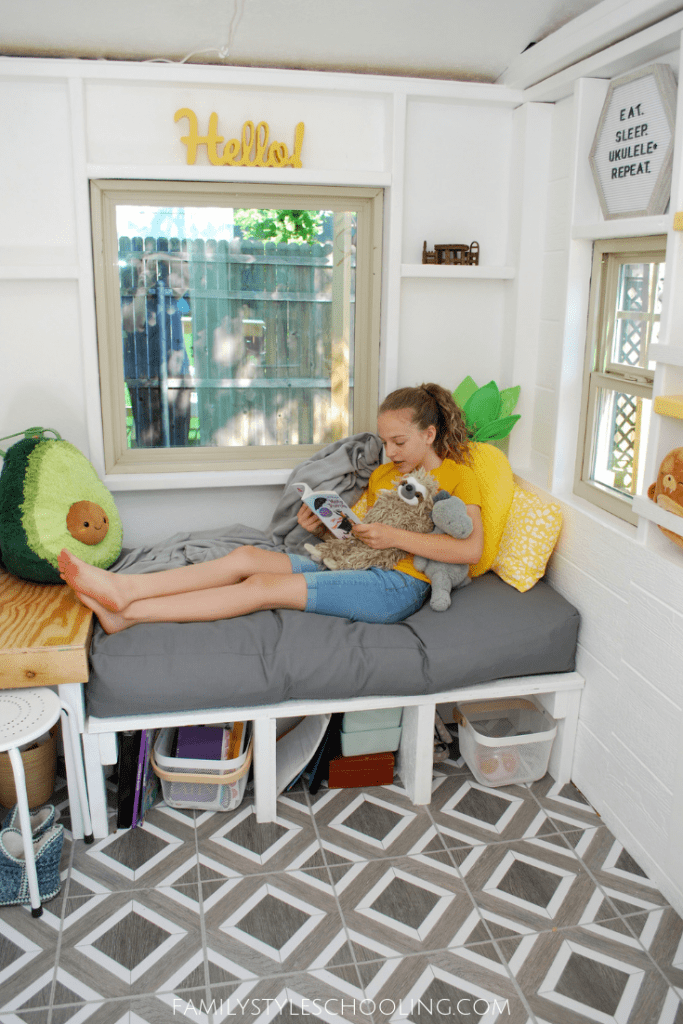
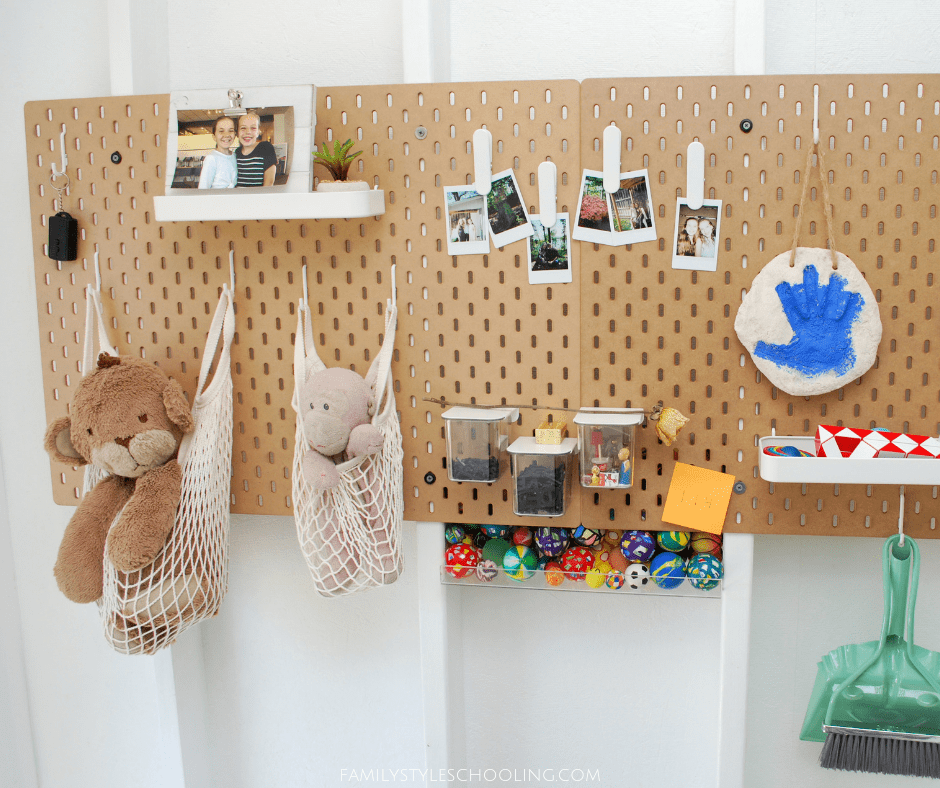
On the back wall we hung this cute SKADIS pegboard from IKEA to organize all of her treasures. A clear tray at the bottom holds all of her bouncy balls.
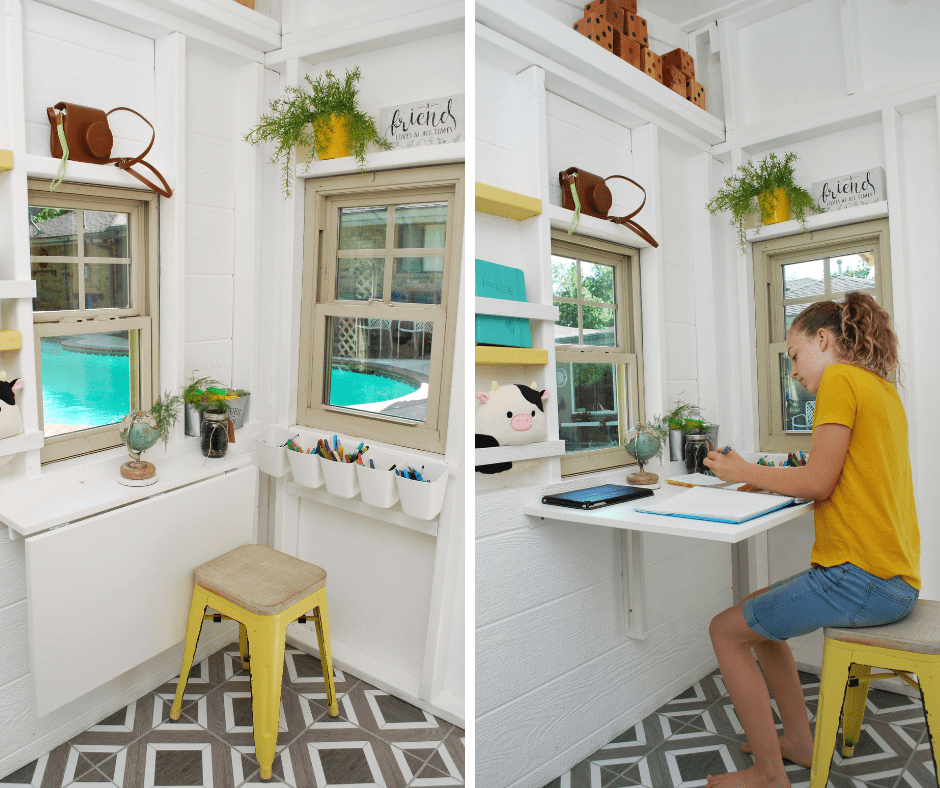
On the other side of the space, we mounted the NORBERG wall-mounted drop-leaf table from IKEA to provide a little desk space for working on her school work.
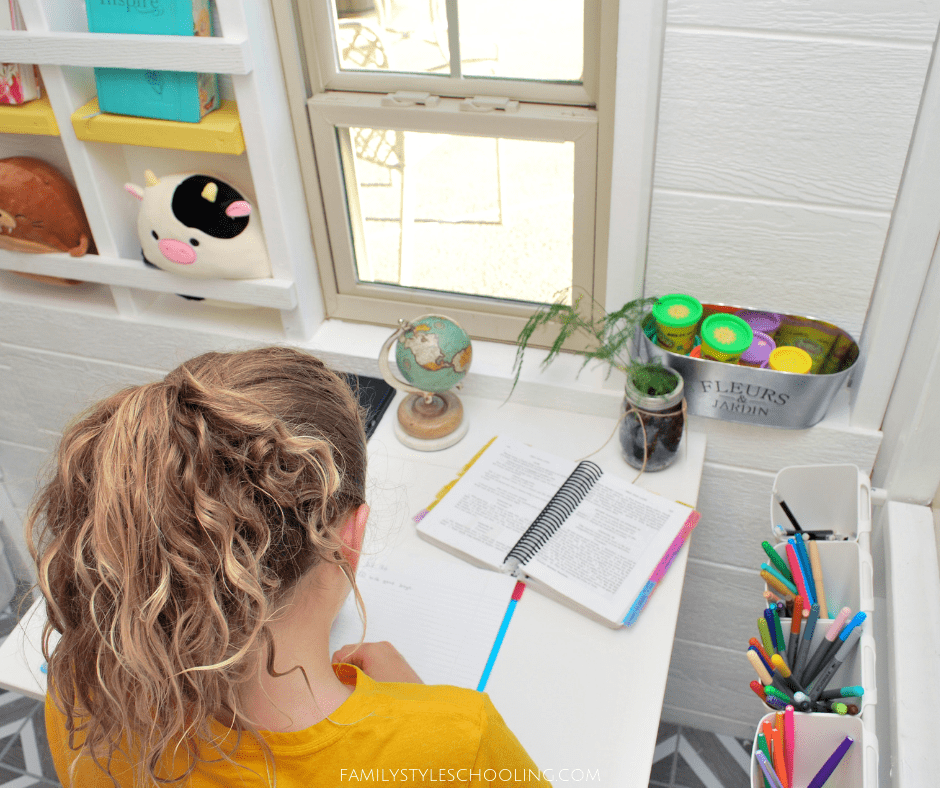
This table is a great space saver for the small footprint of this room.
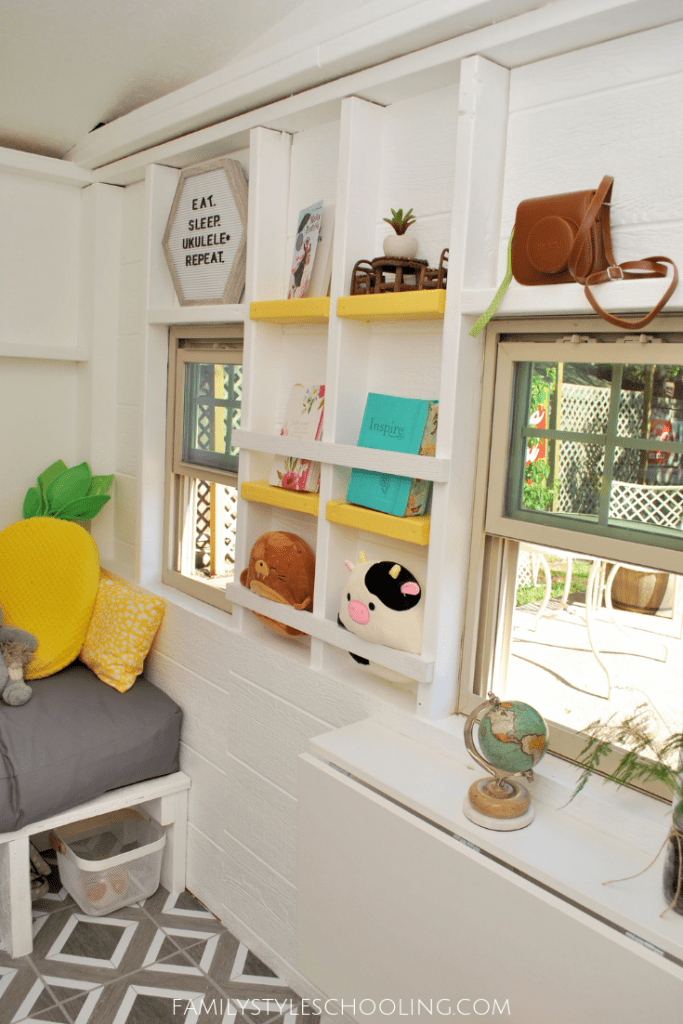
We also tried to use all of the framing as built in shelving. Her friend even gave her a cute hexagon letter board for her birthday that fit perfectly in the space.
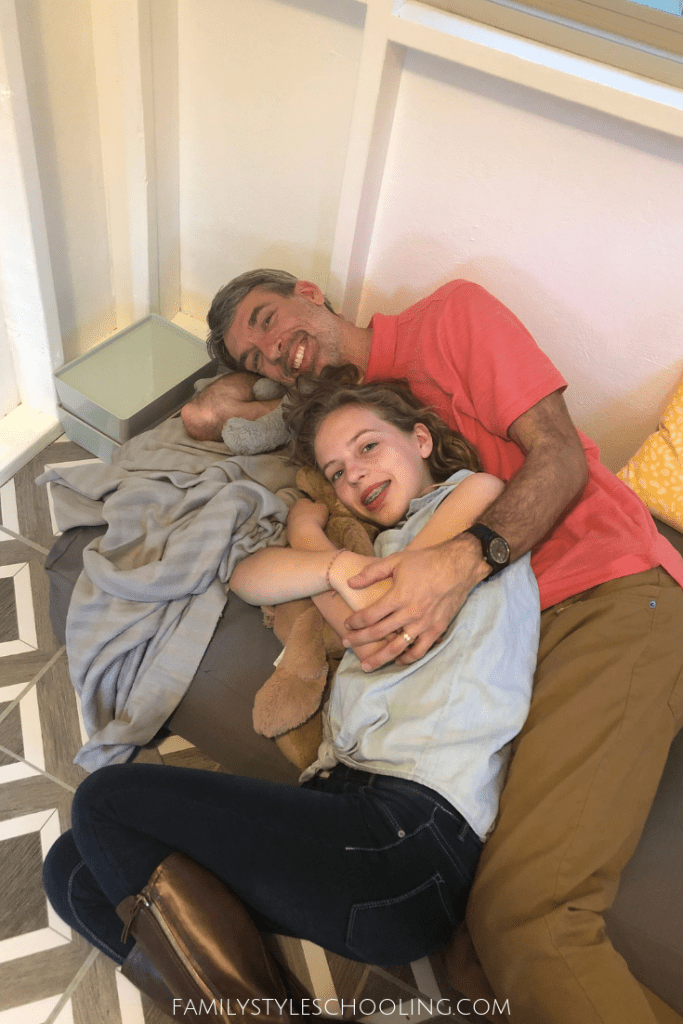
This project quickly became a family favorite. I wanted to help her realize her clubhouse dream so that I could go and enjoy the space with her. I'm looking forward to endless fun in this cute little space for all of us!
It's amazing how this little underwhelming deck space can turn into a backyard highlight. The best part is that my little girl experienced her creative engineering come to life.
Betsy Strauss is an unexpected homeschooler, mother of three, who is in a relationship with a sweet man for life. She loves reading books, drinking coffee, and learning anything with her kids.
OH Wow so cool!
Maddy is dying to come see this! Her dream is for the three of us to live in a tiny home!!!
We would love to have a little visiter move in!! I think Jeremy could stand in there, but he won’t be able to do much else!! So cute!
This is amazing! What are the dimensions of just the inside portion?
Thanks! The inside dimensions ended up being about 6’x7.5′. Glad you like it!
[…] a shed of their own, they’ll have a space to do their homework, practice a musical instrument, or spend time with […]
Did y’all insulate anything in the shed? Waterproof barriers? I’m gathering thoughts for a deck conversion into art studio for Dad.
No insulation anywhere, but we did a lot of caulking and included the roofing felt and drip edge under the shingles. Oh, we put waterproofing tape around the windows along with the caulk. Everything is holding nicely. Hope that helps!
What so you think that cost of this would be?
As always, it depends somewhat on what materials you use. The shingles were leftover from when our home was re-roofed, we found the windows at a resale/used shop, and I made the door and shutters. The white trim was more expensive because they are white all the way through (we didn’t want to keep repainting those). Nonetheless, it was still around five thousand overall, including all the lumber, paint, trim, windows, door hardware, roof felt, roof drip edge, and the little metal fence. Speaking of paint, we also fully painted several coats on everything inside and purchased peel and stick tile for the floor. I hope that helps!