Planting a Fairy Garden to Cultivate Creativity
My youngest turned 11 this past week. I don't know how time has passed so quickly. Her sister had a "Planty Party" last month, and I'm not one of those moms that throws a party for every one of my kids every year. We rotate around which helps my sanity as well as our budget.
Instead of having a full blown party, my youngest opted for a sleepover with a good friend. I had been researching J.M. Barrie, the author of Peter Pan, when I ran across the idea of planting a fairy garden. I knew my girl would love it, so this became our activity for the evening.
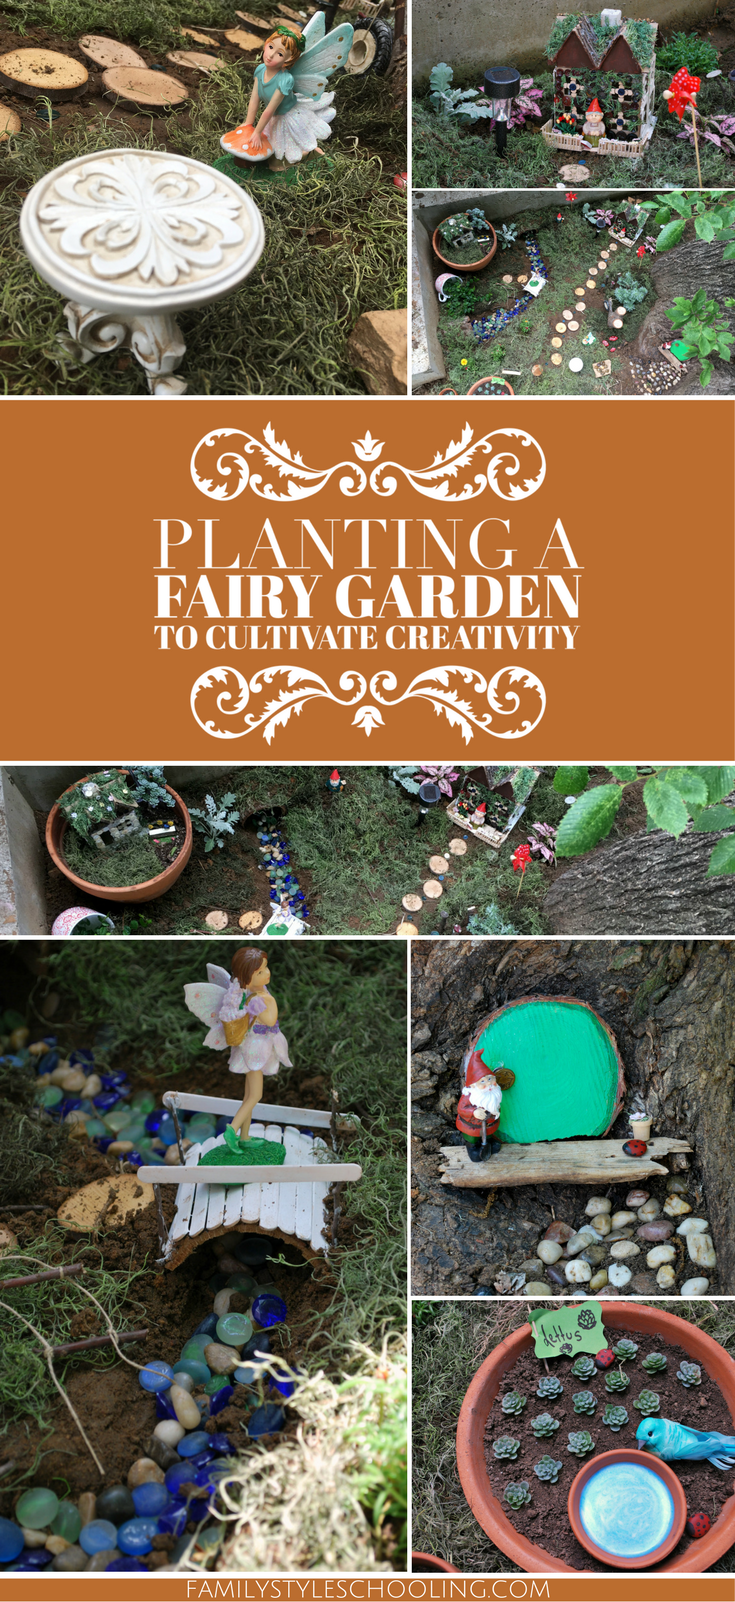
We did a little shopping, mostly at Dollar Tree, but what I love about these fairy gardens is the creativity that is required to make them truly magical. You can't buy that.
We have an old tree with a retaining wall behind it which made the perfect location for our little garden. We gathered our supplies and our Pinterest ideas, and sat down to map out the plan for our little garden.
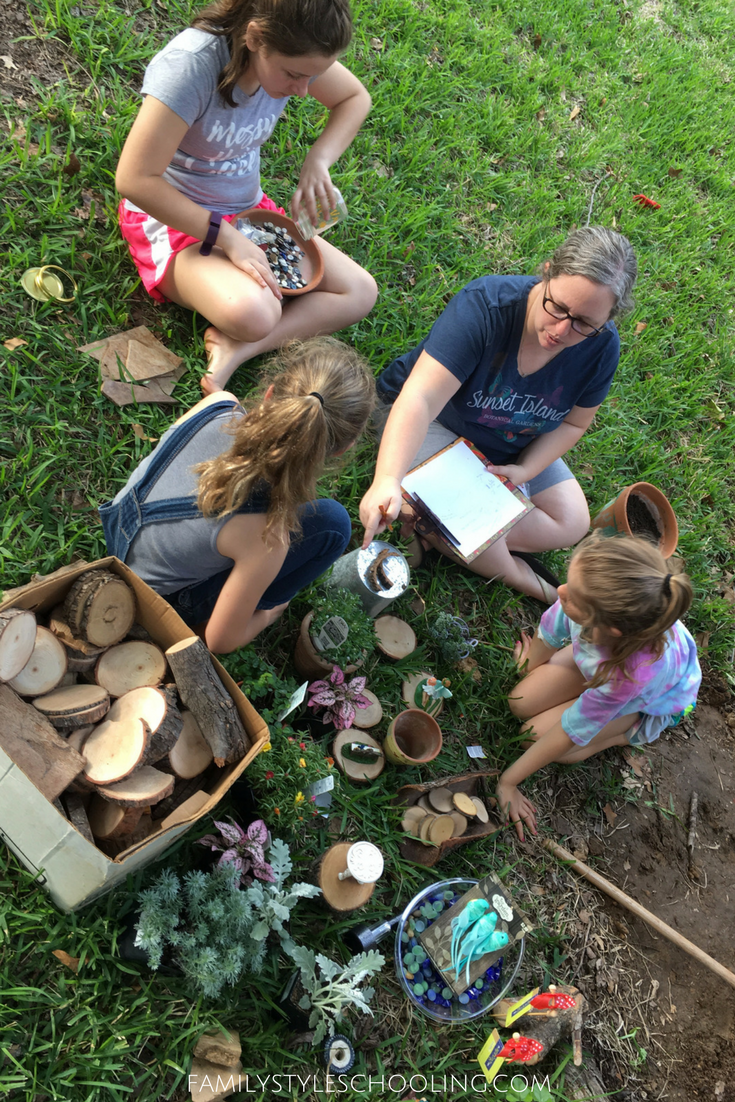
Supplies we used:
- Paper Mache House Boxes (We covered them in all kids of treasures, but I'm not sure how long they will last in the elements. It will be an interesting experiment!)
- Craft Sticks
- Hot Glue Gun
- Old pots from around the yard
- Wood slices (from my husband's wood shop)
- Spanish Moss
- A variety of blue rocks for the river
- Jar of old buttons
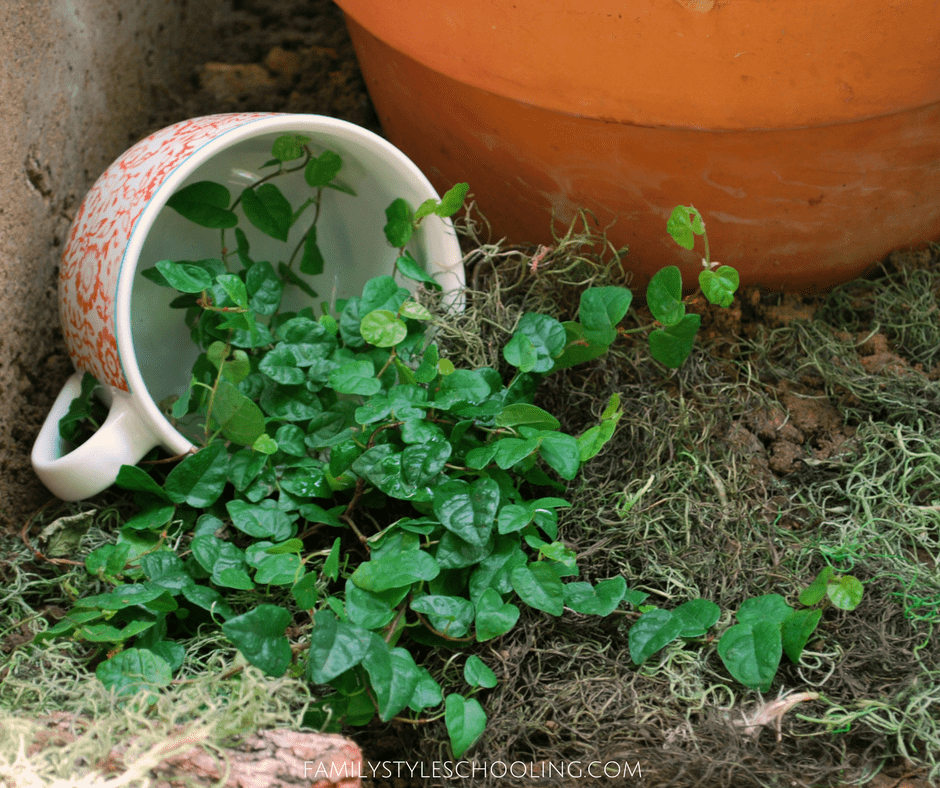
Plants we used:
- Moss Rose
- Dusty Miller
- Polka Dot Plant
- Creeping
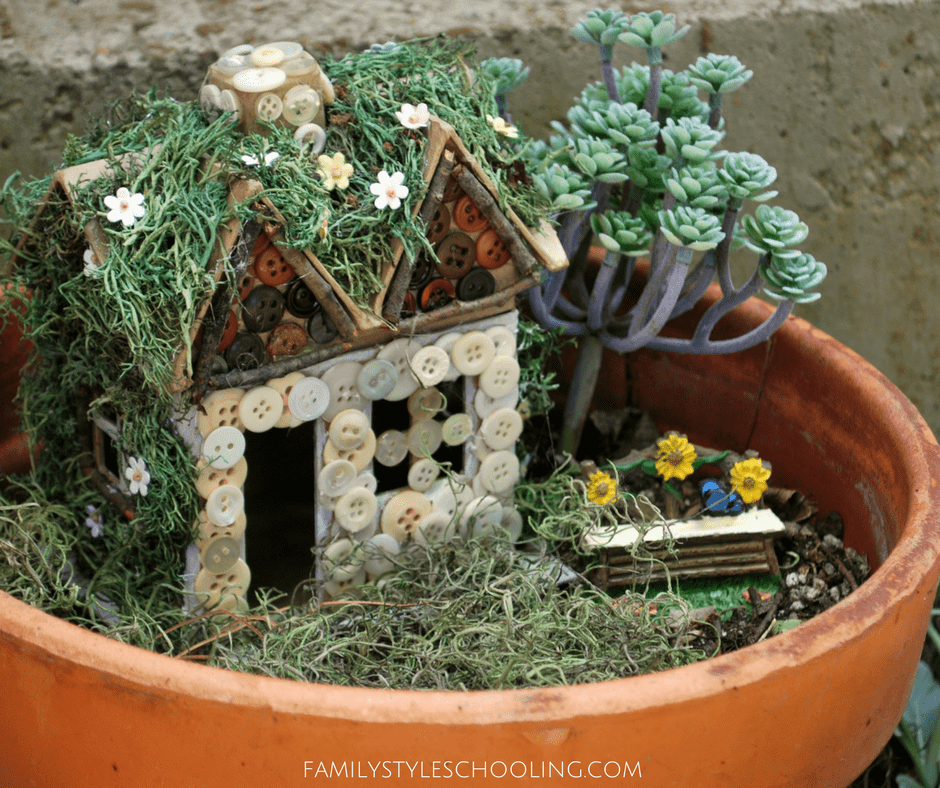
They decorated their house shapes with twigs from the yard, Spanish moss, buttons, and craft sticks (which were referred to as "ship lap" for all of the Fixer Upper fans).
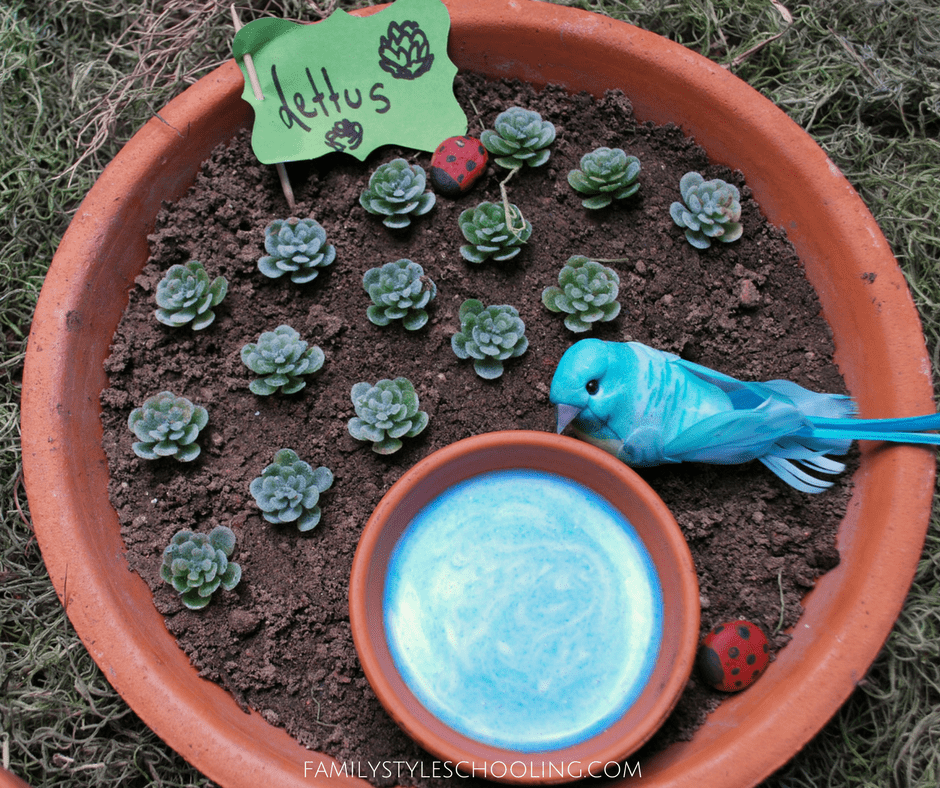
My favorite area is the vegetable garden for the fairies. We took apart an artificial succulent (pictured above), and used the blossoms as little lettuce plants. They were rearranged after the first rain, but it will be fun to set up the garden again when things dry out.
The bird bath is the base of a small pot filled with Mod Podge and a bit of blue paint. It turned out so cute!
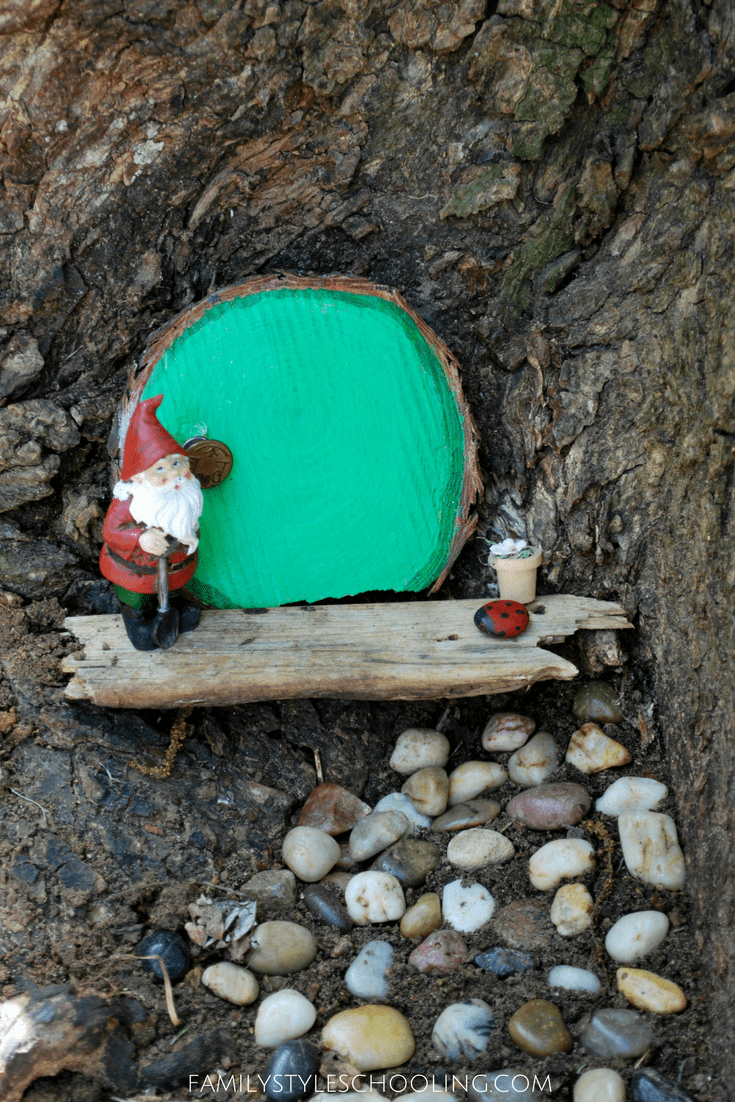
We painted one of the round wooden discs green and glued a button on for a door knob. We placed the door in the base of the tree, which made a cute little hobbit hole for our gnome. A cobblestone (or pebble) pathway leads up to his front step.
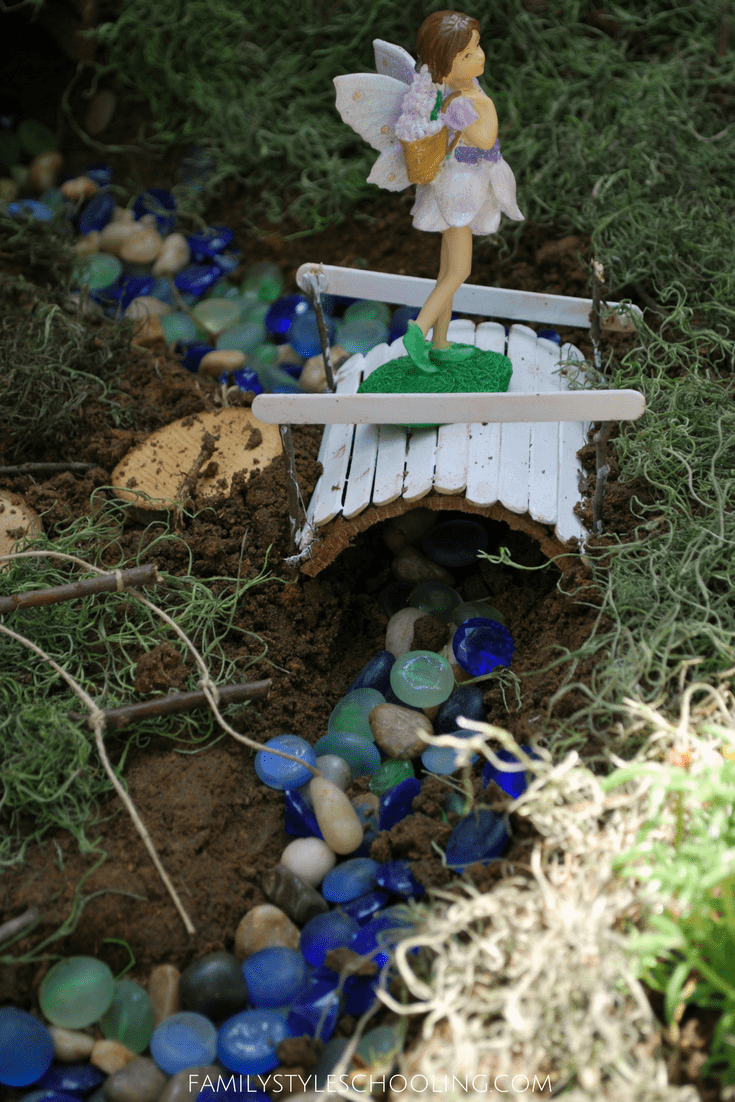
Another fun feature of her design was a stream running through the garden. She built the bridge out of craft sticks and two round slivers of bark from a wooden slice. She dug a small ditch running through the area and filled it with a variety of blue stones to look like a river. I love how it turned out!
We finished up the fairy garden by placing Spanish moss over all of the dirt areas. This will help with not getting muddy while playing in the garden, but it also makes the overall feel pretty.
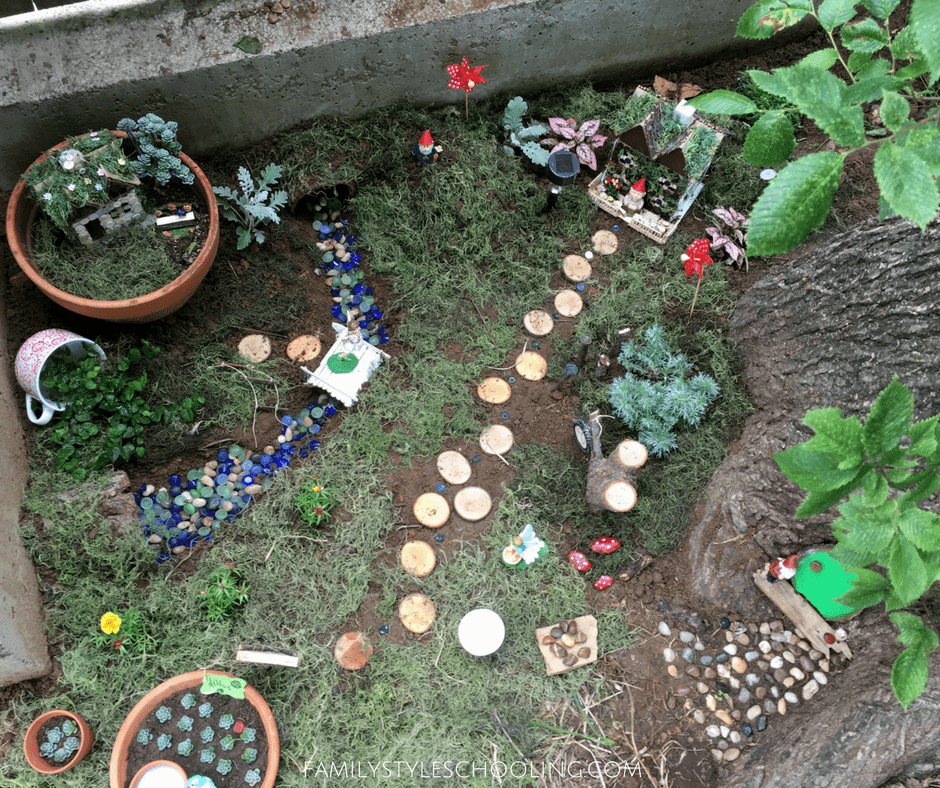
I'm excited to keep building our garden as we dream of what fairies might use if they were playing in our back yard!
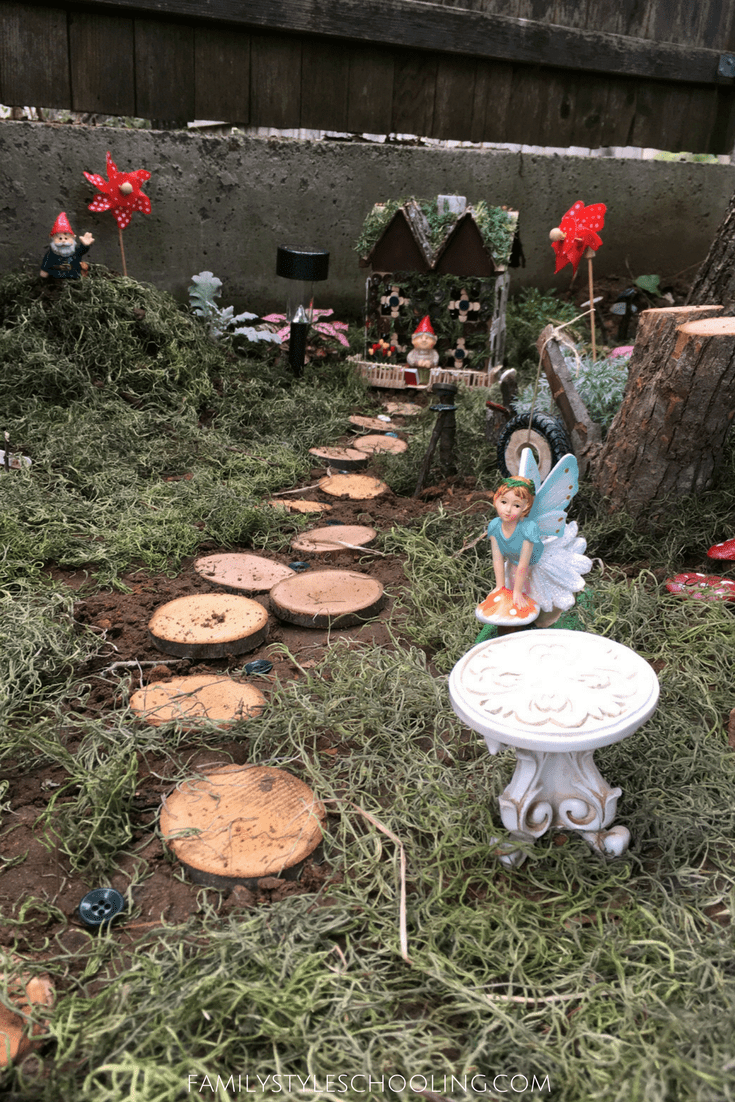
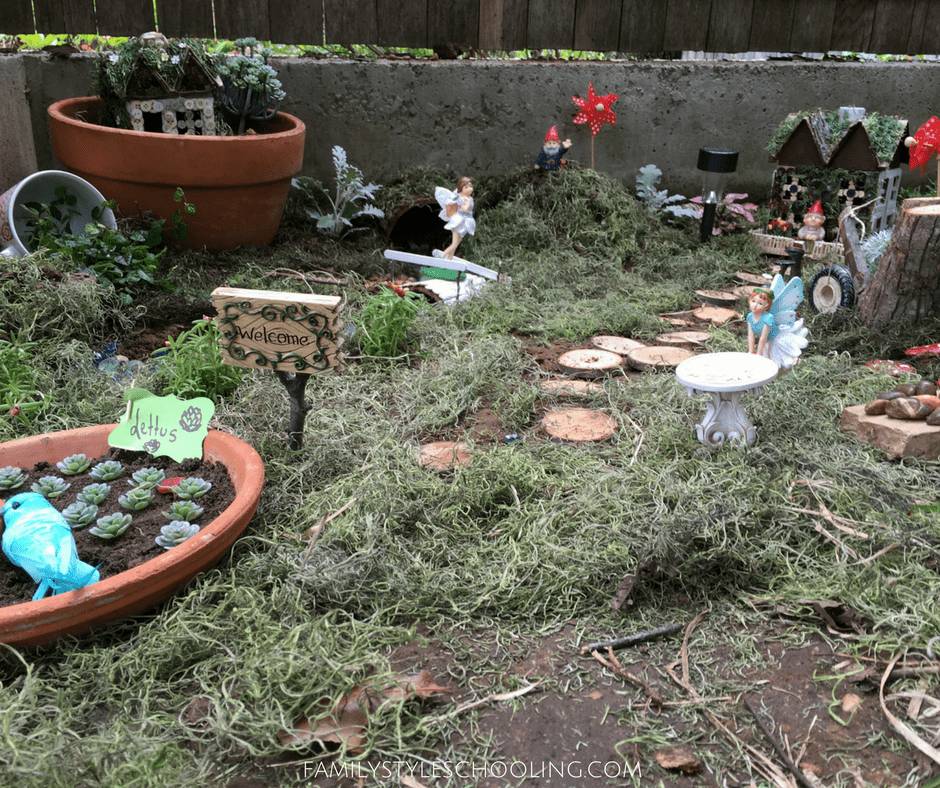
What would you put in your fairy garden?
Betsy Strauss is an unexpected homeschooler, mother of three, who is in a relationship with a sweet man for life. She loves reading books, drinking coffee, and learning anything with her kids.


This is such a simple and fun idea. It requires so much less than a full party yet provides the opportunity for some intimate bonding time.
The idea of letting children have some responsibility in design and creativity is great. It will leave them with some great memories when they get older.
[…] Planting a fairy garden to cultivate creativity […]