The Grammar of Sewing
My girls have been dying to learn how to sew. About three years ago, I started a sewing project with my daughter - a shirt with an elastic waist. Of course, because when you want to learn to sew, you just pick out a cute pattern and go for it. Well, as you can imagine, that project never made it to fruition.
I was more concerned with the artifact than the art of learning.
In order to have success in teaching my girls the art of sewing, I needed to return to the basics, the grammar of sewing. The idea struck me when I ran across this simple tutorial to make a pillowcase. Of course....start simple: straight lines; the basics. However, a pillowcase never made it on my to-do list. It wasn't until I received my favorite gift - a hot/cold pack from a student that I realized this was the basic project I was looking for...and it doubled as Christmas gifts for friends and family. These packs are really just small pillow cases filled with rice, but they offer a quick and rewarding project for beginner sewers.
This post may contain affiliate links. See my full disclosure for more details.
The Grammar of Sewing
To start off training a sewer, you've got to start with the basics. What is the vocabulary of sewing? What does one need to start off sewing a straight line. Here are some of the great lessons we covered in making these little pouches:
- Identifying the parts of a sewing machine: presser foot, bobbin, reverse switch, etc. Check out this great diagram here.
- Loading a bobbin with thread
- Threading a sewing machine
- Seam allowances
- Ironing
We made twenty of these little gems in the course of a couple of hours. It offered ample practice for each of my girls as well as freedom for me to let them mess up. How many times have I had to rip out a seam that didn't quite work out? Why do I expect perfection in the beginnings? This is really something I struggle with, not just in sewing, but also in other subjects like reading, math, and writing. I need to balance out my teaching with patience and the wisdom to know that just as much learning happens from failures as it does from success.
Making Hot/Cold Packs
These simple little packs offer amazing relief from headaches after left in the freezer to chill and laid over your eyes. Additionally, they are wonderful heated in the microwave for a couple of minutes. They make great heaters for cold toes. I have several of these, and I use them all the time!
So here's how to make these simple little packs.
First, the materials to make 5 - 13" x 3.5" hot/cold packs (you can really make them any size you desire):
- 1/2 yard of fun fabric
- Rotary Cutter - my absolute favorite sewing tool...cuts beautifully straight lines which help beginner sewers.
- Self Healing Cutting mat - a must if you're using a rotary cutter, or you can get this kit which includes both.
- thread
- iron
- 5 lb. bag of rice
- funnel
Start by cutting out your fabric:
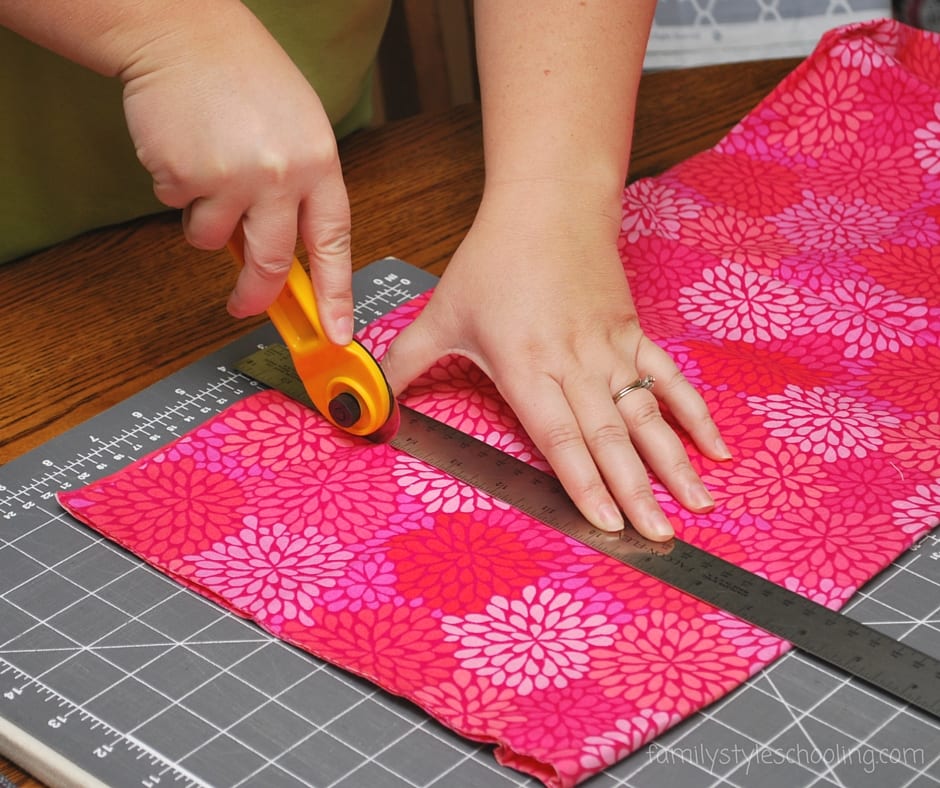
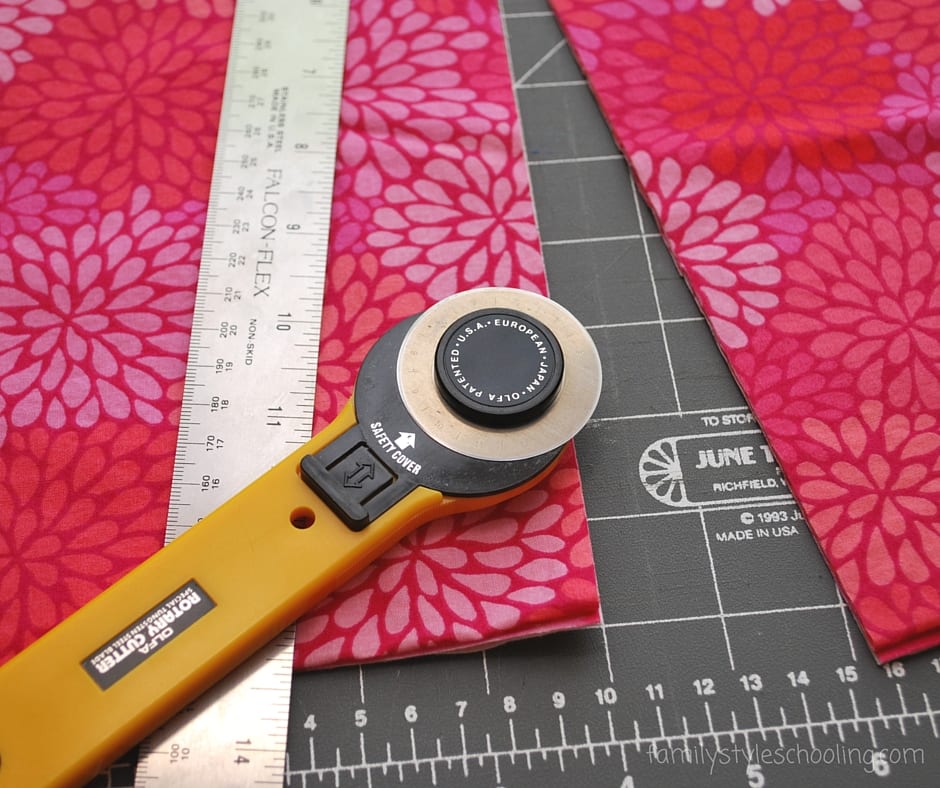
I love a rotary cutter - it makes such a clean cut. I use a metal ruler to ensure I keep my line. I'm not ready to hand this over to my girls because it's such a sharp tool, but I do love that cutting straight lines makes sewing easier for them as they don't have to make adjustments for uneven cuts. You can really make your packs any size, but I divided my 1/3 yard of fabric into 5 equal parts to make 5 - 13 x 3.5 packs (my cut dimensions were 14" x 4.5").
Get Sewing
Place your two piece of fabric with the right sides together. We sewed a giant "U" shape down one long side, one short side, and back up the other long side. We left one end open for filling with rice.
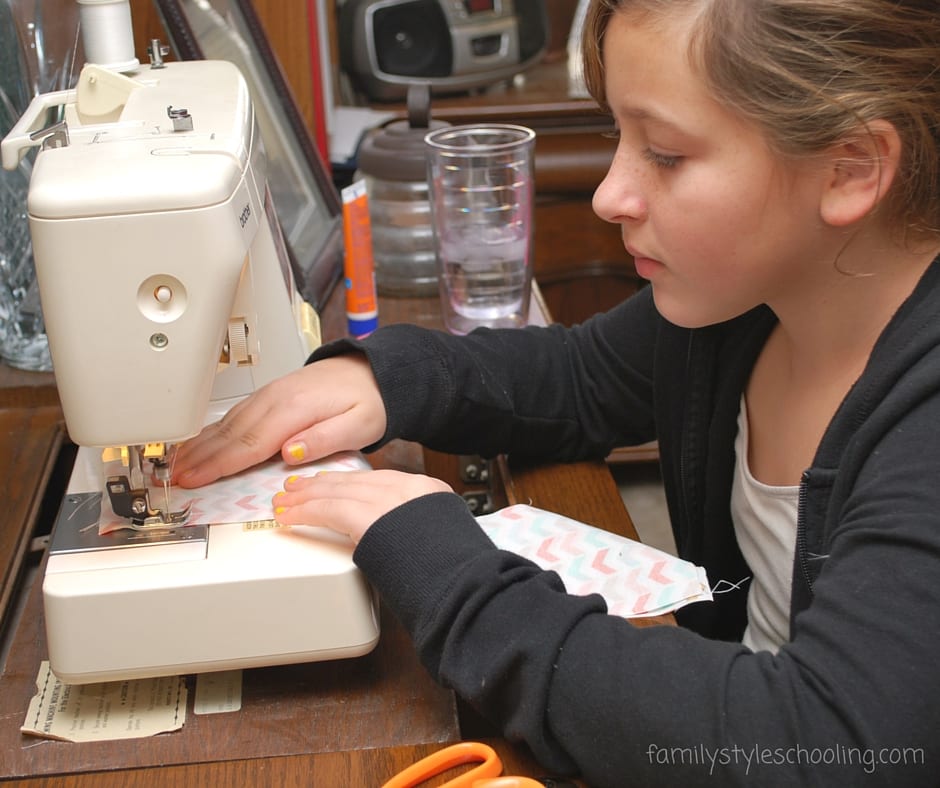
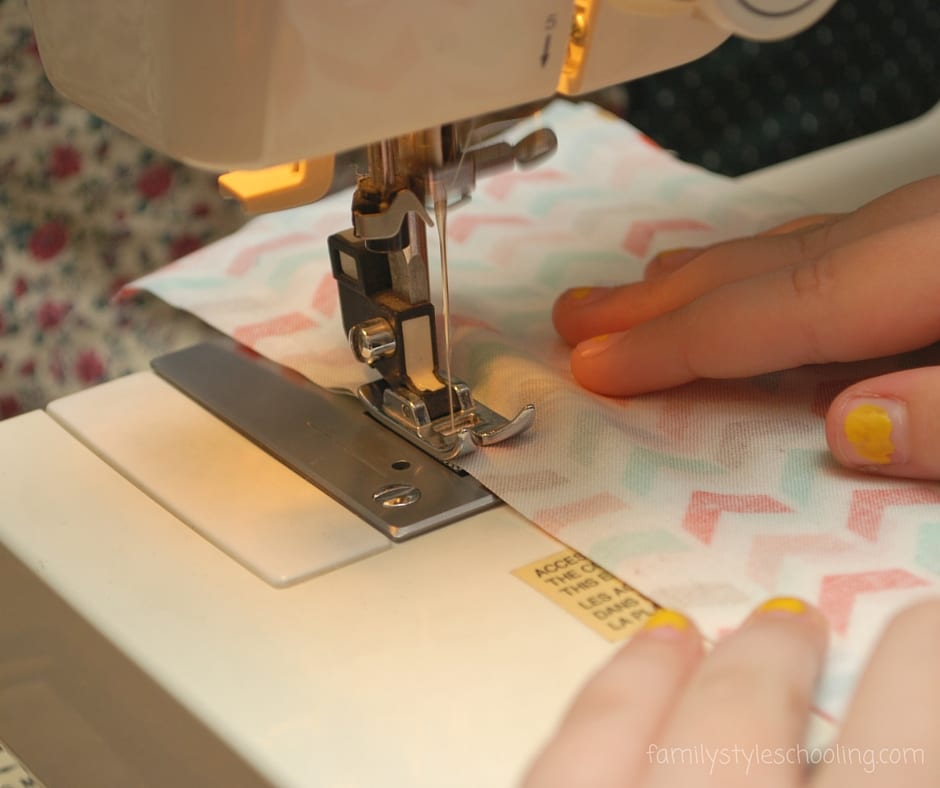
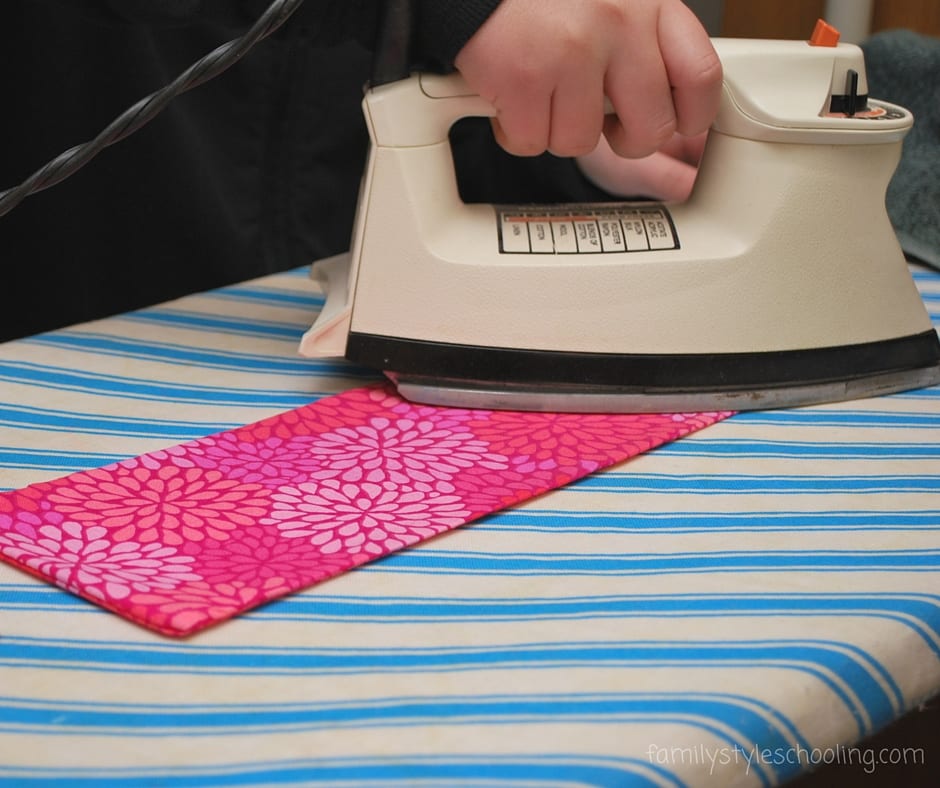
Cotton is an easy fabric to work with for beginner sewers. As we worked through sewing our big "U", we worked on leaving our needle in to pivot and turn the fabric. Once this part of the sewing was complete, the girls turned the fabric right side out and ironed their masterpieces.
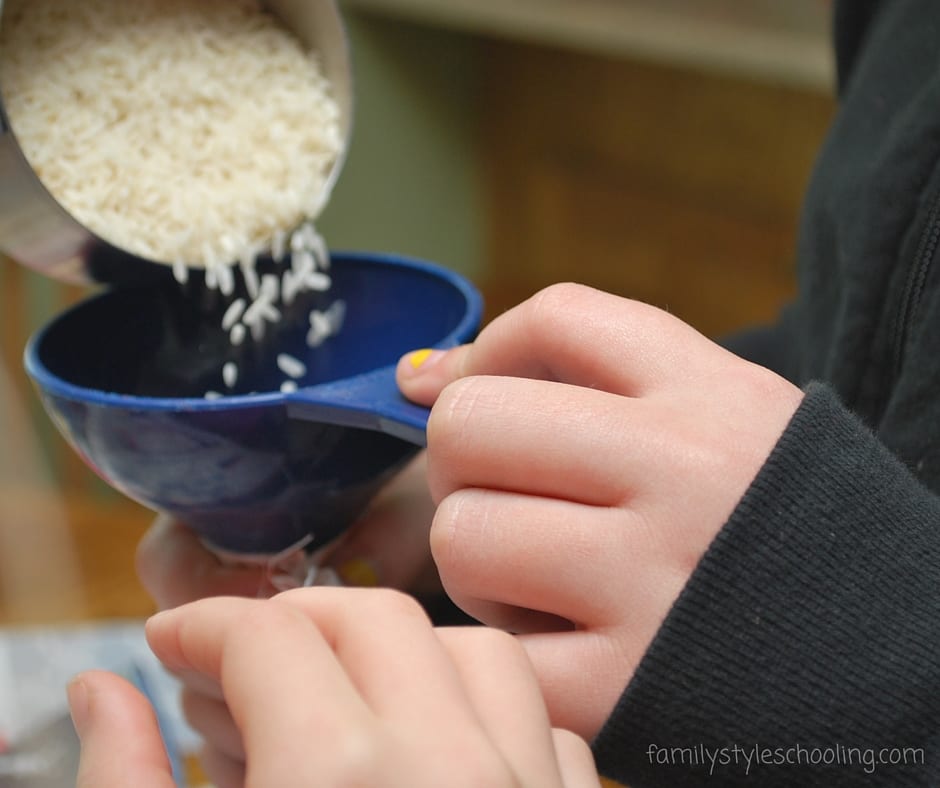
Next, fill the bags with rice.
We filled our bags 3/4 full of rice...that was about 2 cups of rice, or just around 1 lb. of rice.
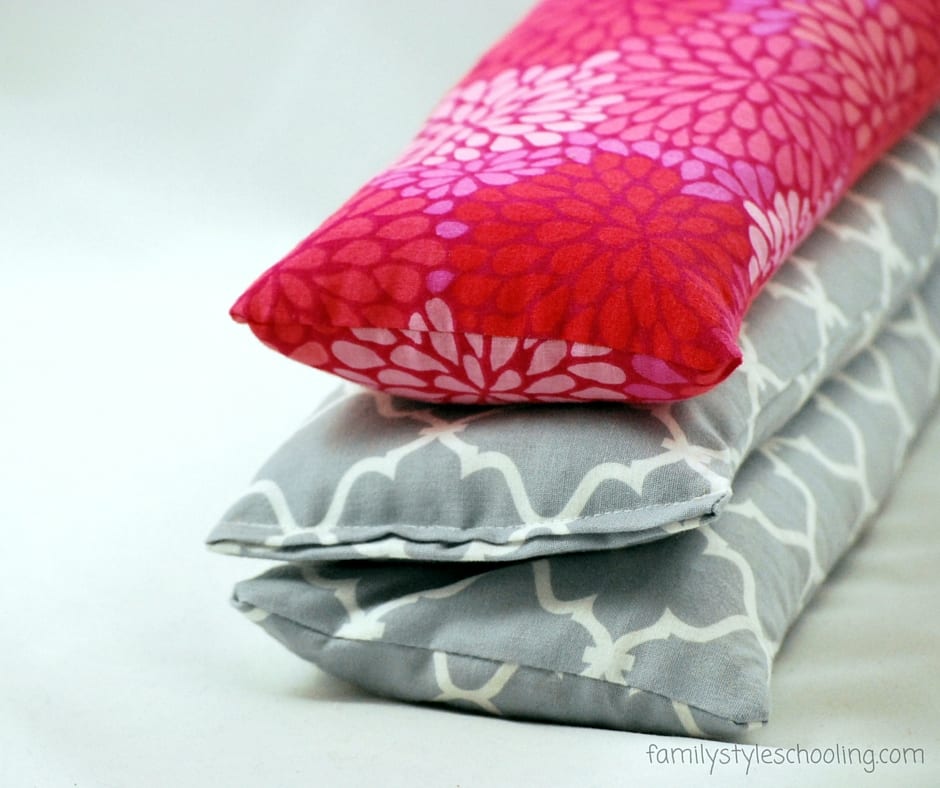
Fold open end in and sew closed along the outside edge.
Sewing to Serve
In Proverbs 31, the woman of noble character makes linen garments and sells them. In the same way, these simple little hot/cold packs are a great way for your budding sewers to learn not only to sew, but also to use their hands to make creations that bless others. They make great teacher gifts, valentines gifts, Christmas gifts, or graduation gifts. The sky is the limit!
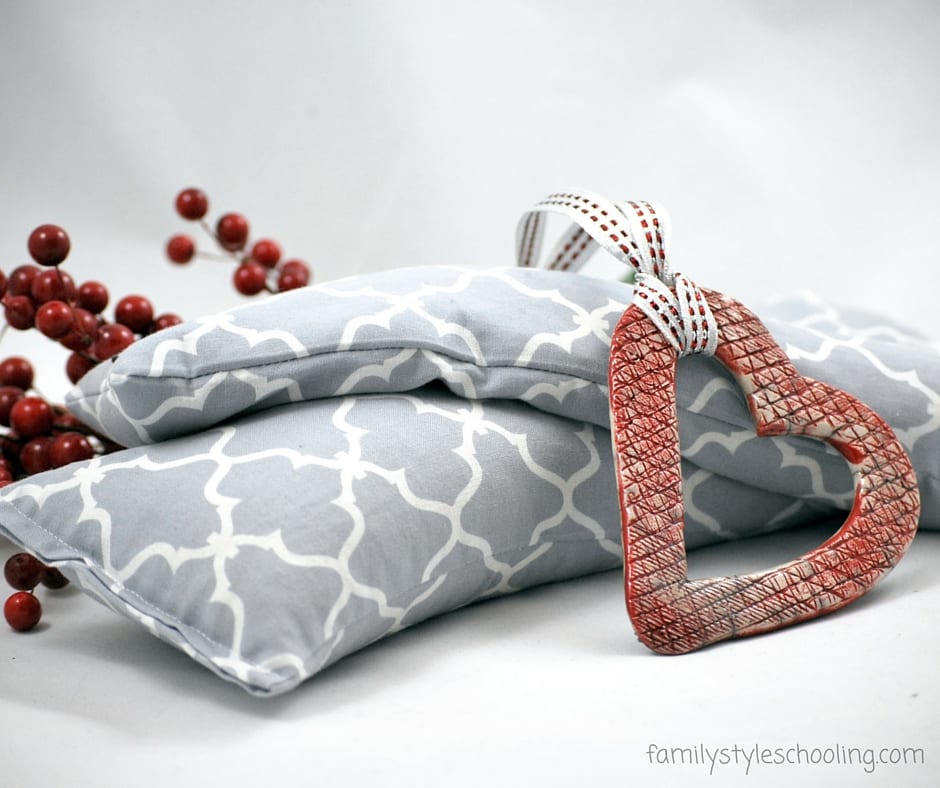
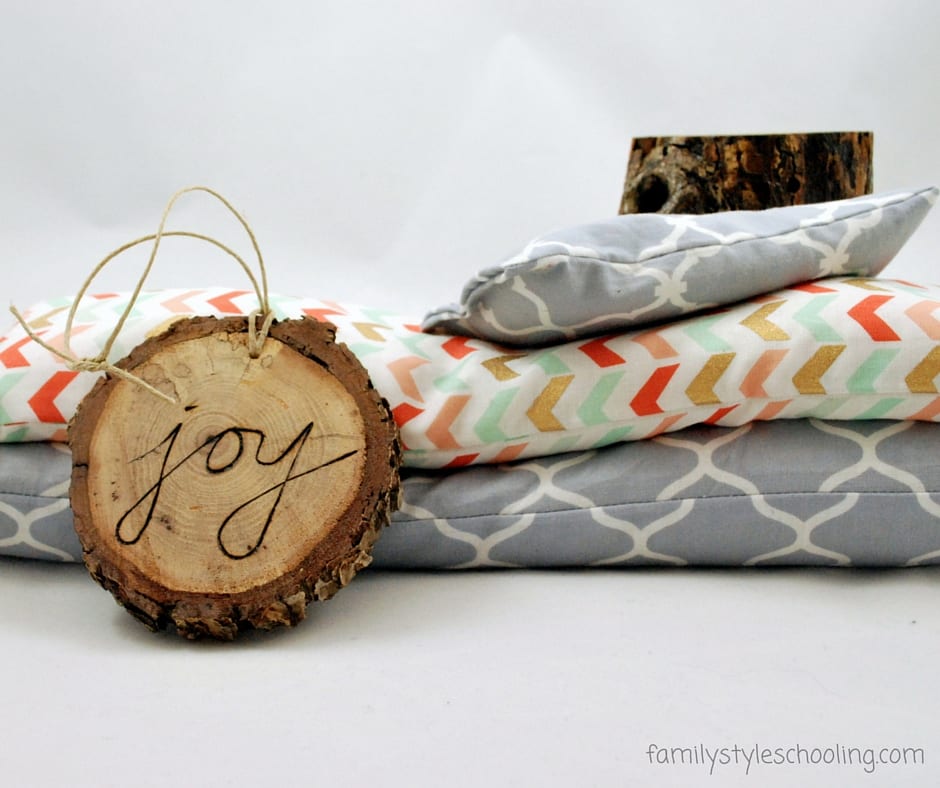

After completing twenty of these little hot/cold packs, my daughter was empowered by her new knowledge. She loved learning how to sew, and she also found out that it was really hard work! Good thing these little packs are great for weary eyes!
Betsy Strauss is an unexpected homeschooler, mother of three, who is in a relationship with a sweet man for life. She loves reading books, drinking coffee, and learning anything with her kids.


I love to sew and my 4 year old is always by my side helping- this would be a perfect project for us to make next!
My boys are too little to get involved in sewing projects.. however I do think they are old enough to help find a fabric they like!
These are so cute. I actually would like to learn to sew, so this might be the perfect project for me. Thank you!
I have a very dusty sewing machine. Not a lot of space to use it. I Really need to bring it out and learn to use it. I Love these little pouches, would give me a good place to start!
I’ve been itching to get my sewing machine out! I think I will include my 4 year old girl this time around!
That’s so fun! I’m sure she would be thrilled!
This is fantastic! I have a sewing machine sitting up in my closet, but have had very little idea of how to actually use it, so I think this may be a summer class for me. And just a side note, as a Texas Tech alum (bachelors and masters), I absolutely LOVED the last project pictured! Wreck ’em, Tech! 🙂
I hope you have fun with it! I’m a Texas Tech grad too! We made those for my cousin who loves everything Texas Tech. They turned out so fun!